Case Study – Lime Rendering on a Georgian Property, Hook
Project Overview
A large detached Georgian property in the Hook conservation area required a full lime render restoration to its front and side elevations. The previous cement render had failed, water was getting behind it, and damp was appearing internally. Across five weeks we removed the failed cement render, addressed extensive masonry damage that had been hidden beneath it, replaced a failed structural lintel above the front door, and applied a three-coat NHL 2 lime render with a pozzolanic addition – specified to suit the building’s exposed weather-facing aspect while preserving the breathability the soft red brick demands. The property is now finished in a breathable lime render system that will protect the building for decades. Limewashing is scheduled for later in the year.
The Property
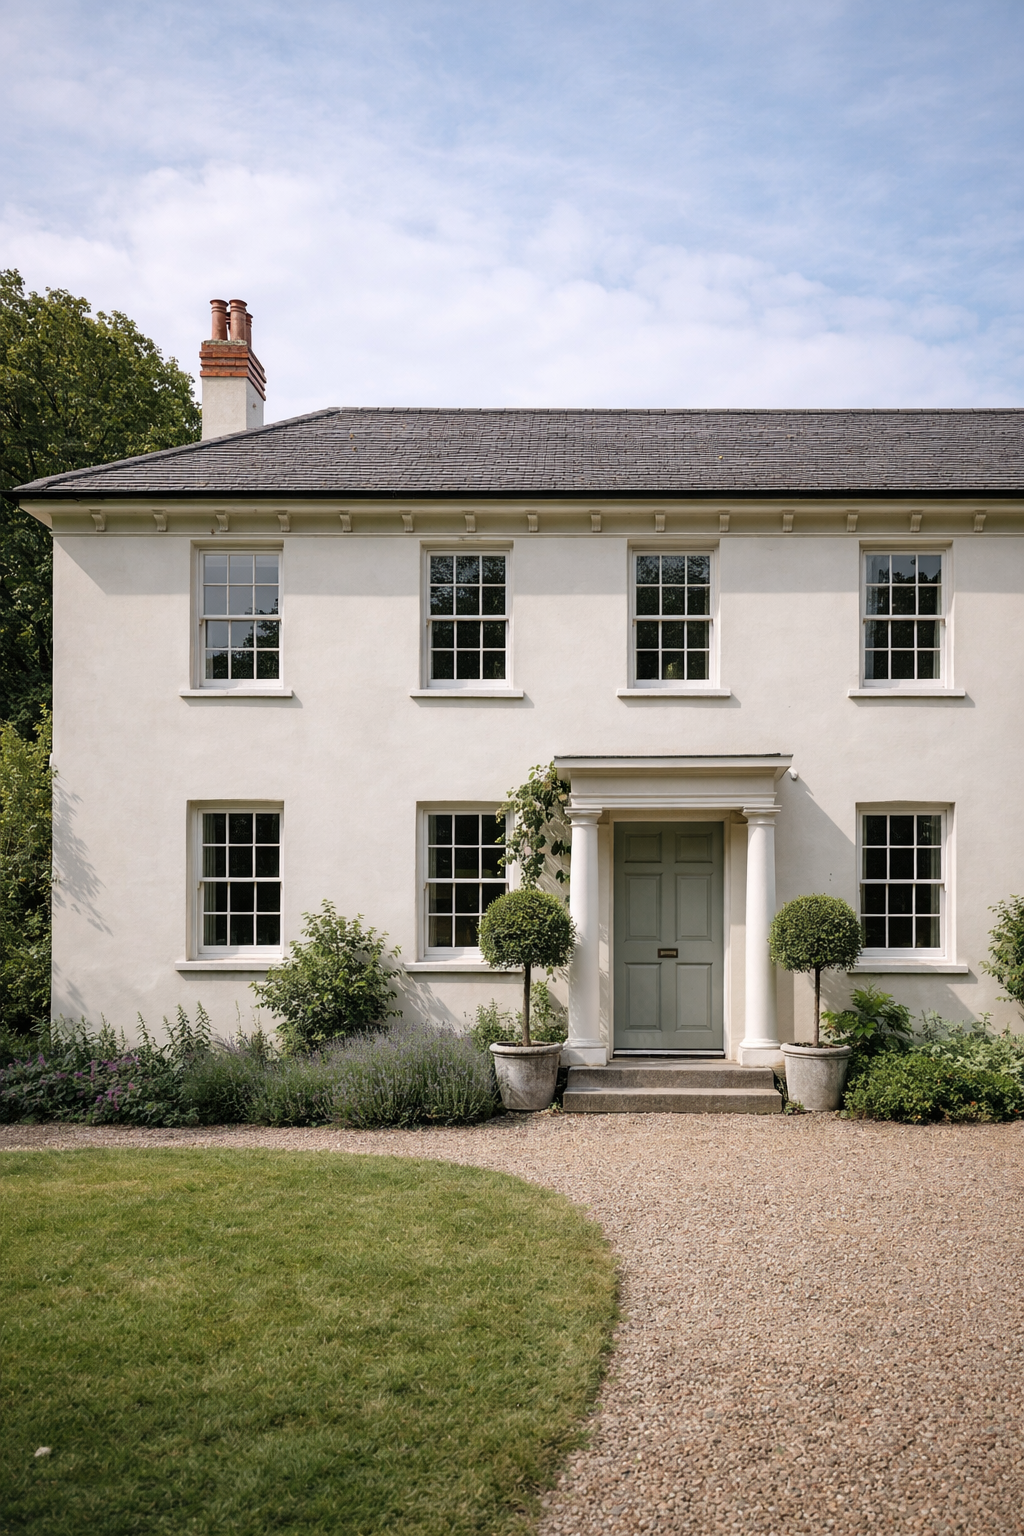
The subject property is a large detached Georgian house in the Hook conservation area, Hampshire. Built in solid red brick with hot lime mortar pointing, the property retains a substantial range of original architectural features and is characteristic of the better Georgian housing in the area. The property is unlisted, but its conservation area status means external alterations are subject to local authority oversight.
We had worked with the owners previously – carrying out internal lime plastering work the year before, shortly after they purchased the property and began a programme of sympathetic restoration. The new external lime rendering project represented the next phase of that programme: returning the building’s external fabric to the breathable lime system it was designed for.
What We Found On survey
Our survey confirmed that the building required a complete lime render restoration on the affected elevations. It also revealed something more serious than was visible from the outside.
The cement render itself was failing across multiple areas. Cracking, isolated patches showing signs of debonding, and the modern masonry paint sealing whatever drying route remained.
The cellar. Cement render had also been applied to the cellar walls at some point. On survey we found the brickwork behind it soaking wet – moisture trapped between the impermeable render and the masonry, with no ventilation or drying path available. The cellar walls had been quietly suffering for years.
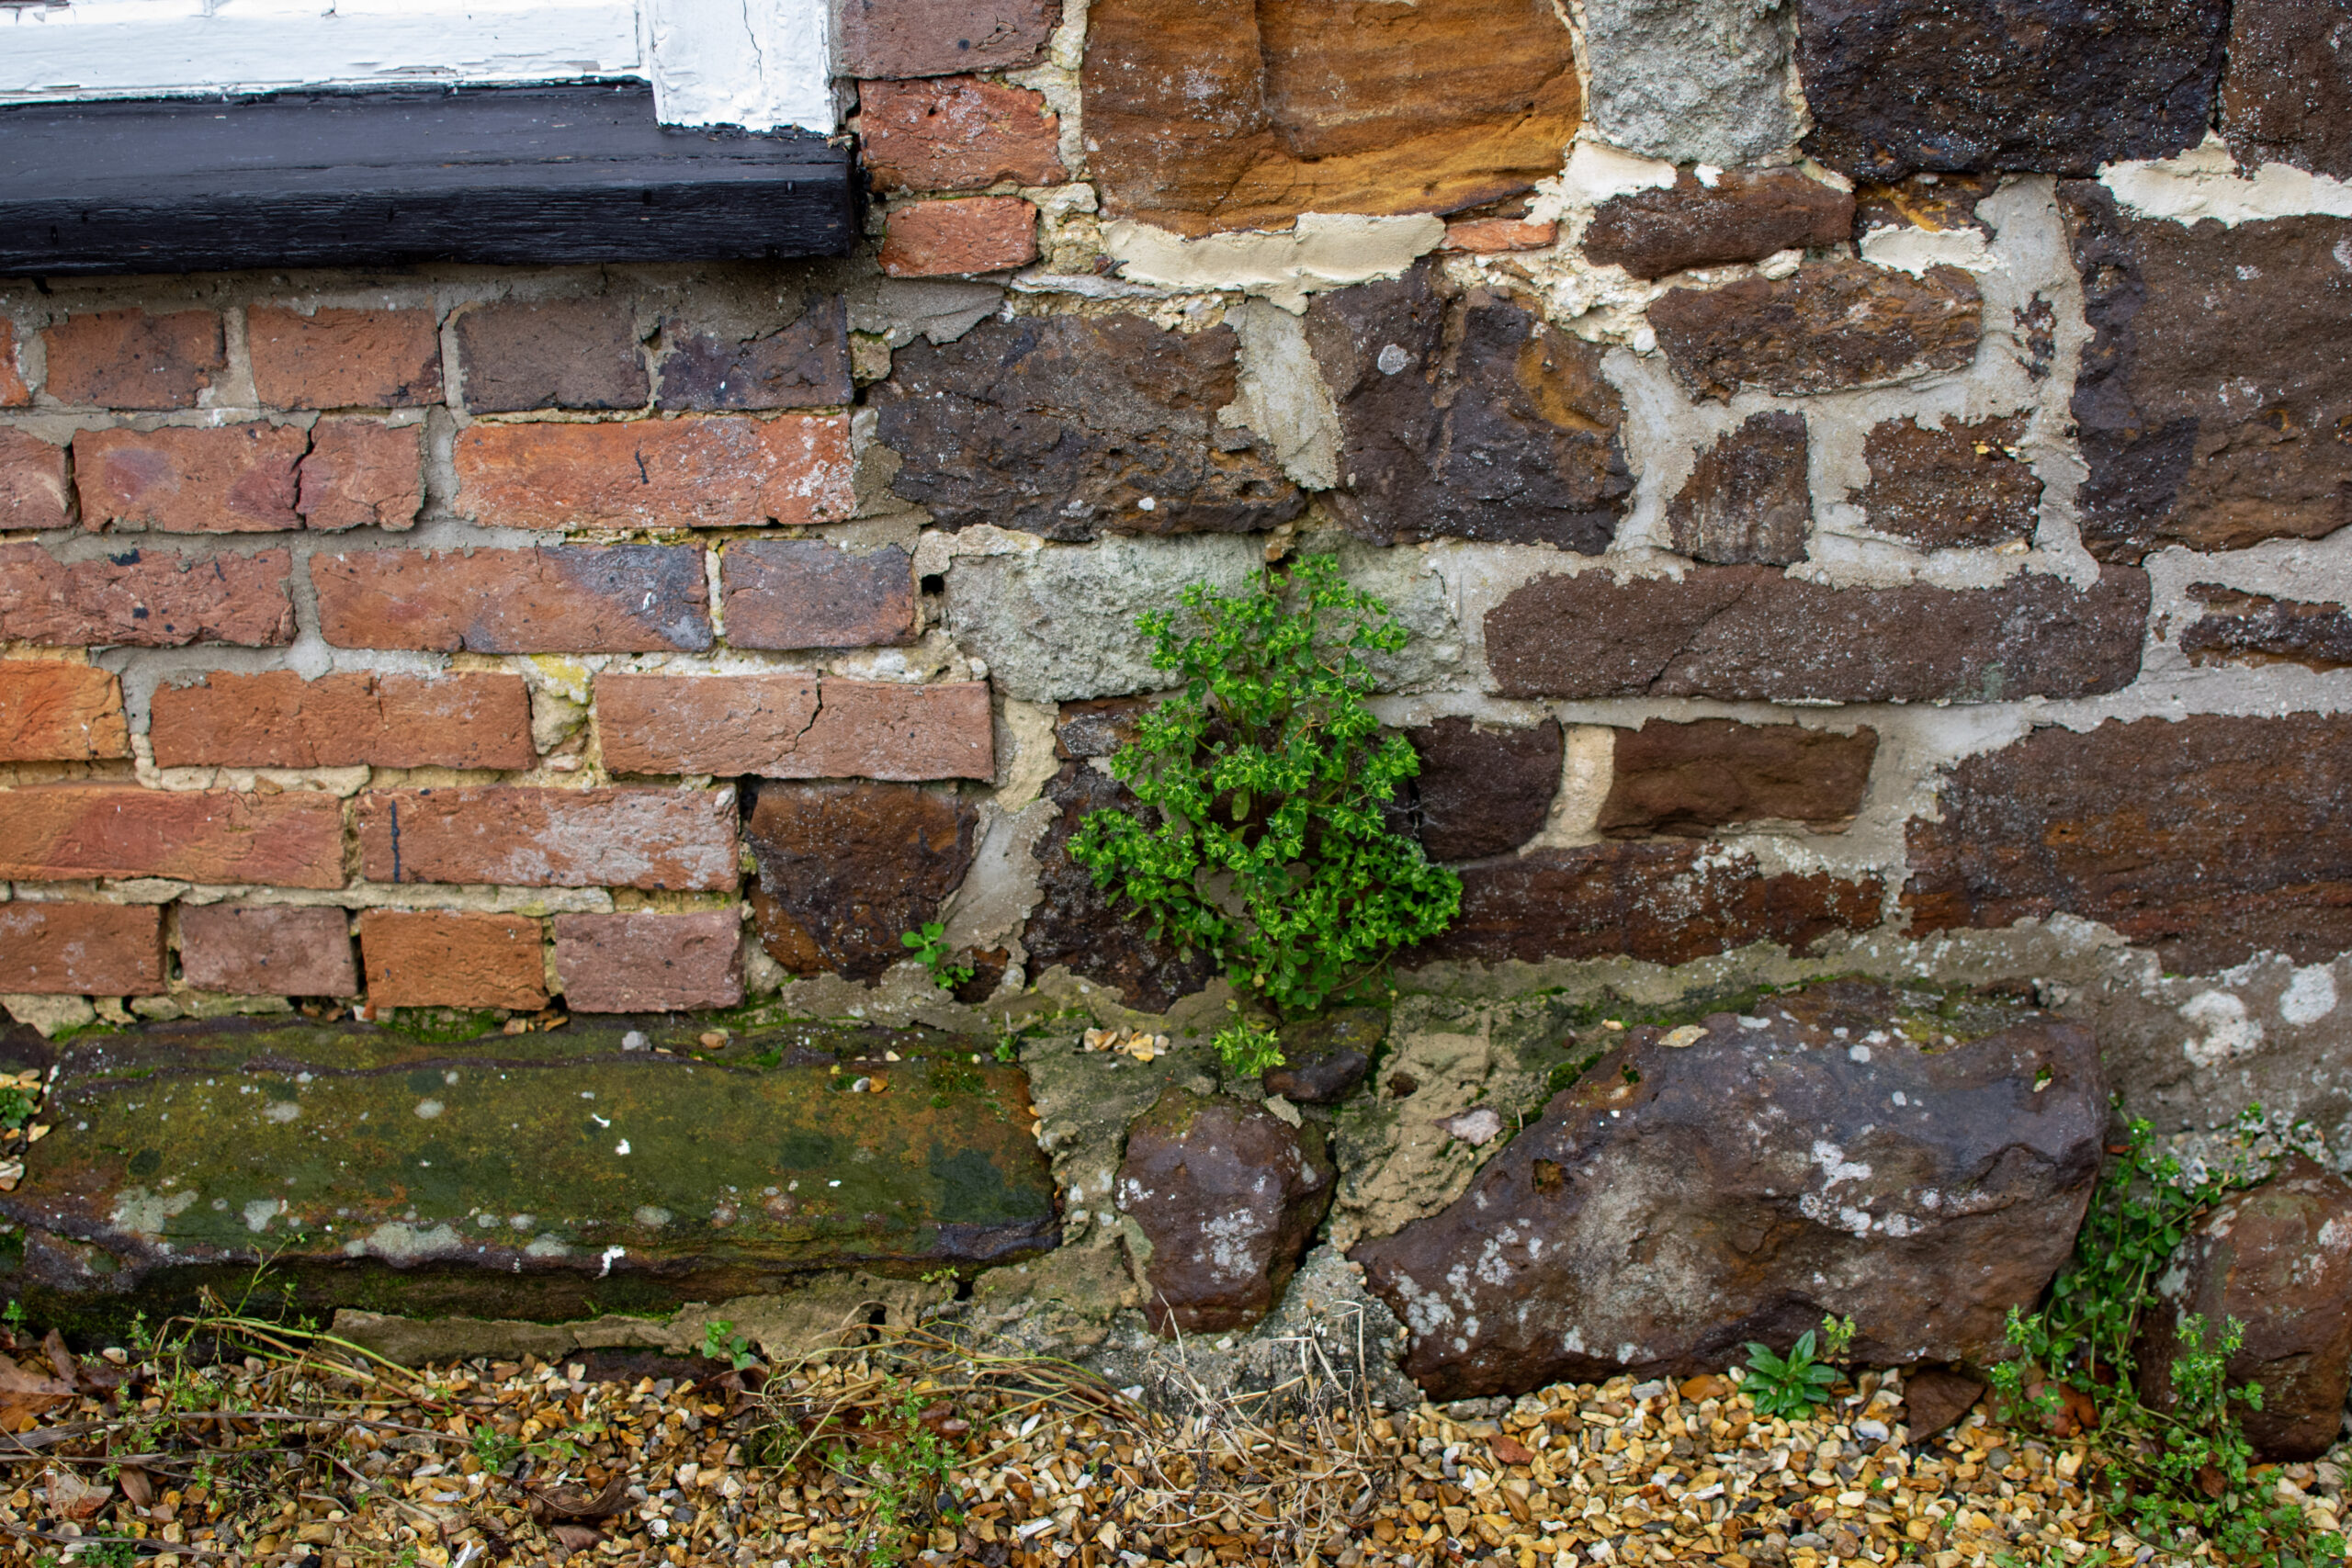
The brick faces. This is where the most significant finding emerged, and it’s a finding that has direct implications for any lime rendering project on a building that’s previously been cement-rendered. When we test-removed a section of cement render to assess what we’d be dealing with, the brick faces came away with the cement. The cement had bonded so aggressively to the soft red brick that removing the render meant pulling fragments of the original brick face away with it. We saw the same pattern in the cellar – and we have a photograph of a piece of removed cement render with the brick face still attached to the back of it.
This is the hidden cost of cement on a heritage brick building. The cement isn’t just sealing the wall – it’s bonding to the soft historic brick in a way that makes removal genuinely damaging. By the time you can see that cement render is failing, the masonry beneath has already been compromised. Any lime rendering project on a previously cement-rendered building has to plan for this – both in the time and care needed for removal, and in the additional masonry repair work that will be required before the new lime render can be applied.
We also identified a separate issue during the survey: the structural lintel above the front door had failed. This wasn’t related to the cement render directly, but it sat in the area we’d be working in, and it made sense to address it as part of the same project rather than returning later.
The Specification
We prepared a written specification covering the full scope of the lime rendering project.
Phase one – preparation. Removal of the existing cement render from the front and side elevations by hand, taking the time and care needed to limit additional damage to the soft brick, accepting that some brick spoiling was inevitable given the bond between cement and historic masonry. Cellar cement render to be removed at the same time and the masonry left to dry. Failed structural lintel above the front door to be replaced.
Phase two – masonry repair. Replacement bricks would be sourced to match the original – colour, size and texture – to address areas where the brick face had come away with the cement. Localised repairs and repointing in lime mortar to address joints exposed during the removal. The masonry needed to be properly prepared and stable before any new render could be applied.
Phase three – three-coat lime render. This was the technical heart of the project, and the specification was made carefully:
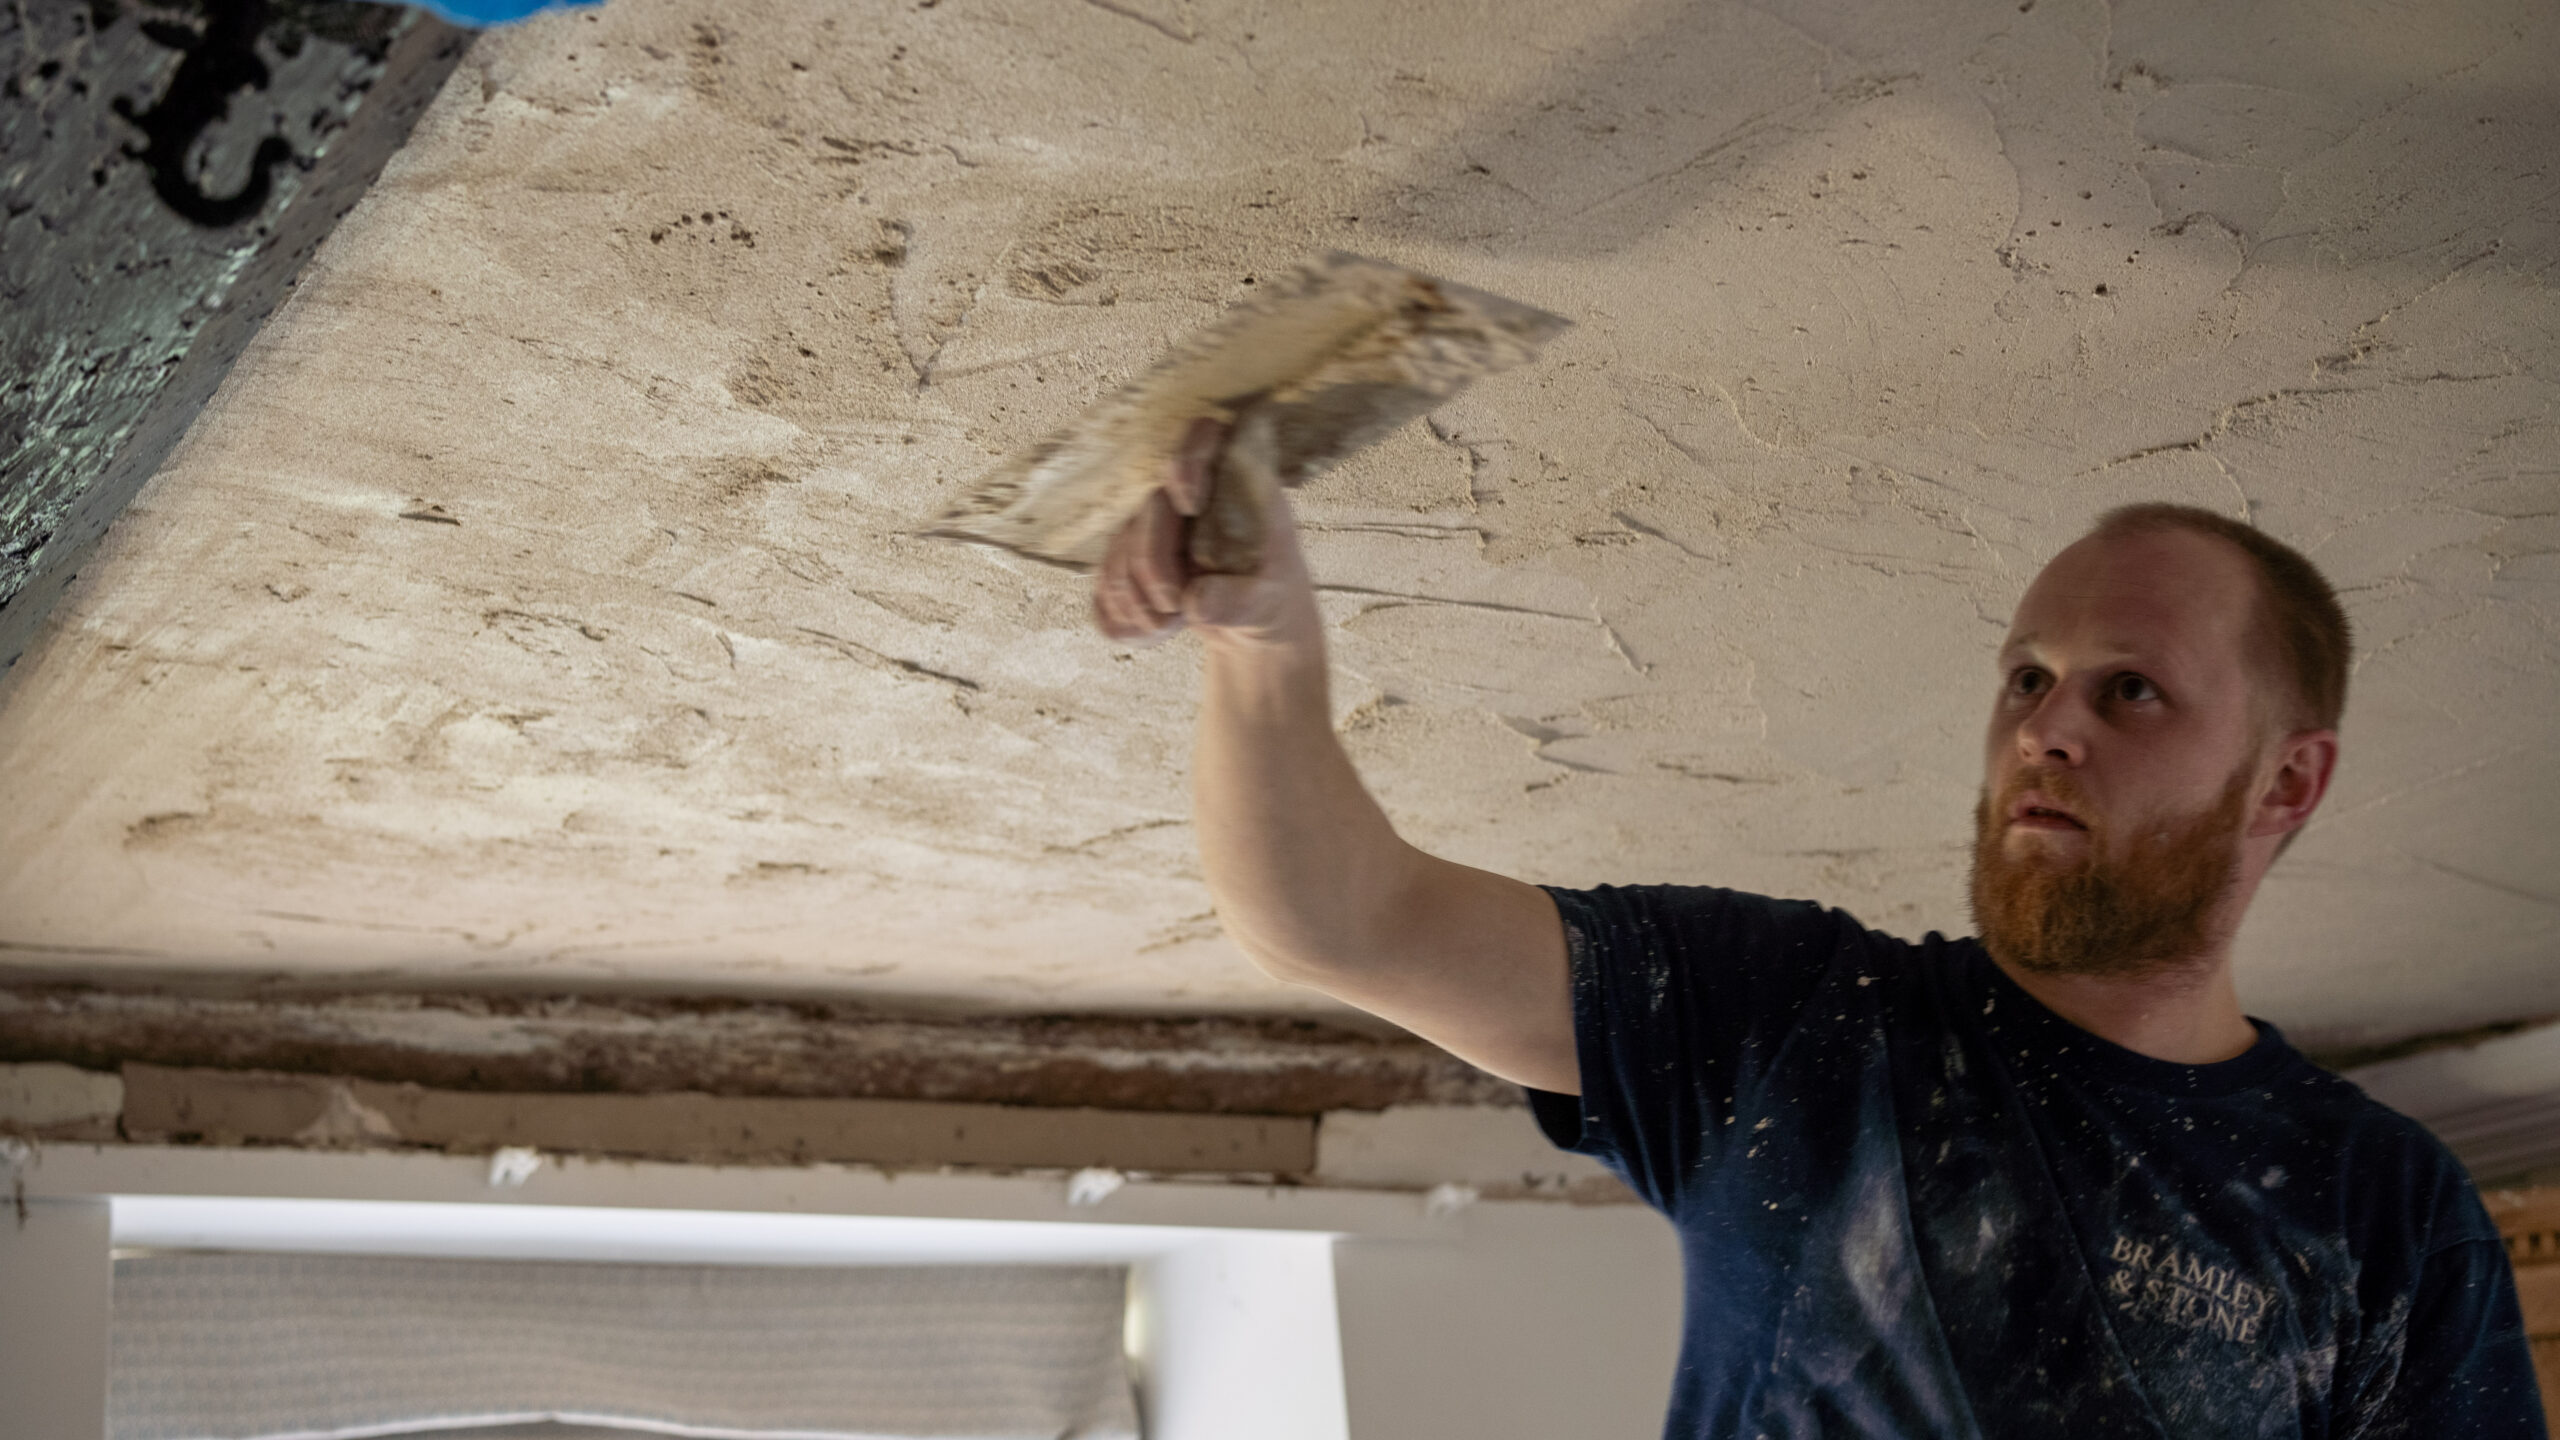
- Lime type: NHL 2 with a pozzolanic addition. We did not use pure lime putty for this job, even though the property’s age and the soft red brick would normally suggest the softest possible lime system. The reasoning: the front elevation in particular is exposed and weather-facing, and a pure lime putty render – while supremely breathable – would be slower to develop strength in this exposure. NHL 2 is feebly hydraulic, which means it offers excellent breathability close to lime putty, but it sets initially through hydraulic reaction (not just through carbonation) and develops weather resistance more quickly. The pozzolanic addition further hardens the mix without compromising breathability – pozzolans react with the lime to add subtle strength and improved performance in damp conditions, traditionally used since Roman times for exactly this kind of weather-facing application. The combination produces a render that is breathable enough to suit the soft brick and the building’s age, but durable enough to hold up to driving rain and wind on a fully exposed elevation.
- Aggregate: Hampshire-sourced sand, matched in colour and grade to surviving evidence and to the regional vernacular.
- Three coats: scratch coat, float coat, finish coat – applied in sequence with appropriate cure time between each.
- Finish: floated, ready to receive limewash.
Phase four – limewash. Scheduled for later in the year, after the render has been allowed to fully cure. The finished property will receive a breathable limewash finish in the appropriate weather window.
The specification reflects a principle we apply to every lime rendering project we carry out: the lime system has to match both the building and the conditions it has to withstand. Specifying lime correctly isn’t just about choosing lime over cement – it’s about choosing the right lime, the right aggregate, the right number of coats, the right finish, and the right cure conditions for the specific property in front of you.
The Result
Five weeks after we started, the lime rendering project was complete. The front and side elevations had been re-rendered in a three-coat NHL 2 lime system. The cellar walls were dry and breathing properly for the first time in years. The failed lintel had been replaced. The masonry repairs were complete and matched into the surrounding fabric.
The building’s external envelope is now what it should be: a breathable lime render system on solid brick masonry, capable of absorbing small amounts of moisture and releasing it again, protected against weather but not sealed against it. The internal damp problems that had brought the owners to us should not return, because the cause – the impermeable cement render – has been removed and replaced with a system the building can work with.
The client is thrilled with the outcome – and we’re equally pleased that the property no longer carries any non-breathable materials on its rendered elevations. Limewashing is scheduled for later in the year, once the render has been allowed to fully cure. We’ll return to apply the final breathable finish in the appropriate weather window, and the property will be complete.
Reflection
This project illustrates two things about lime rendering on a heritage property that we wish more period property owners understood from the outset.
The first is that lime rendering is the right answer for solid-walled heritage buildings, full stop. Cement render seals the wall, traps moisture, accelerates internal damp and ultimately damages the masonry beneath. Lime render does the opposite – it protects the wall while allowing it to breathe, manages moisture rather than blocking it, and lasts for decades when applied correctly. A Georgian property like this one was built to be lime-rendered (or limewashed over bare brick), and reverting to that system is what allows the building to perform as designed.
The second is that lime rendering on a previously cement-rendered building is more than a like-for-like swap. The cement removal phase frequently exposes damage to the masonry that wasn’t visible from the outside – bricks spoiled where the cement bonded to them, joints disturbed, sometimes structural elements that have been hidden behind render for decades. A proper lime rendering project budgets time, materials and craftsmanship for that masonry repair work as a normal part of the scope. Cutting corners on the preparation produces a beautiful new lime render sitting on a poorly prepared substrate, which won’t perform for a fraction of how long it should.
The technical specification on this project – NHL 2 with a pozzolanic addition, Hampshire sand, three-coat application – also illustrates that lime rendering on a fully exposed elevation isn’t simply “use the softest lime possible.” The system needs to match both the building and the conditions it has to withstand. A pure lime putty render, perfect on a sheltered wall, would have been the wrong choice for the exposed front of this Georgian house. Specifying lime correctly is part of the specialism.
If you own a period property in Hampshire – Hook, Basingstoke, Winchester, Alton, anywhere across the county – and you’re considering lime rendering, the first step is a proper survey of the building. The right specification depends on what we find.
Considering lime rendering for your Hampshire property?
If you own a Georgian, Victorian or Edwardian period property in Hampshire and you’re considering lime rendering – whether you’re replacing failed cement render, restoring a previously rendered elevation, or rendering a building that needs the protection – the first step is a proper heritage survey. The right lime specification depends on the building, the exposure and the surrounding conditions.
Lime rendering specialists across Hampshire, Dorset, Somerset and Surrey. 1,500+ period properties restored.