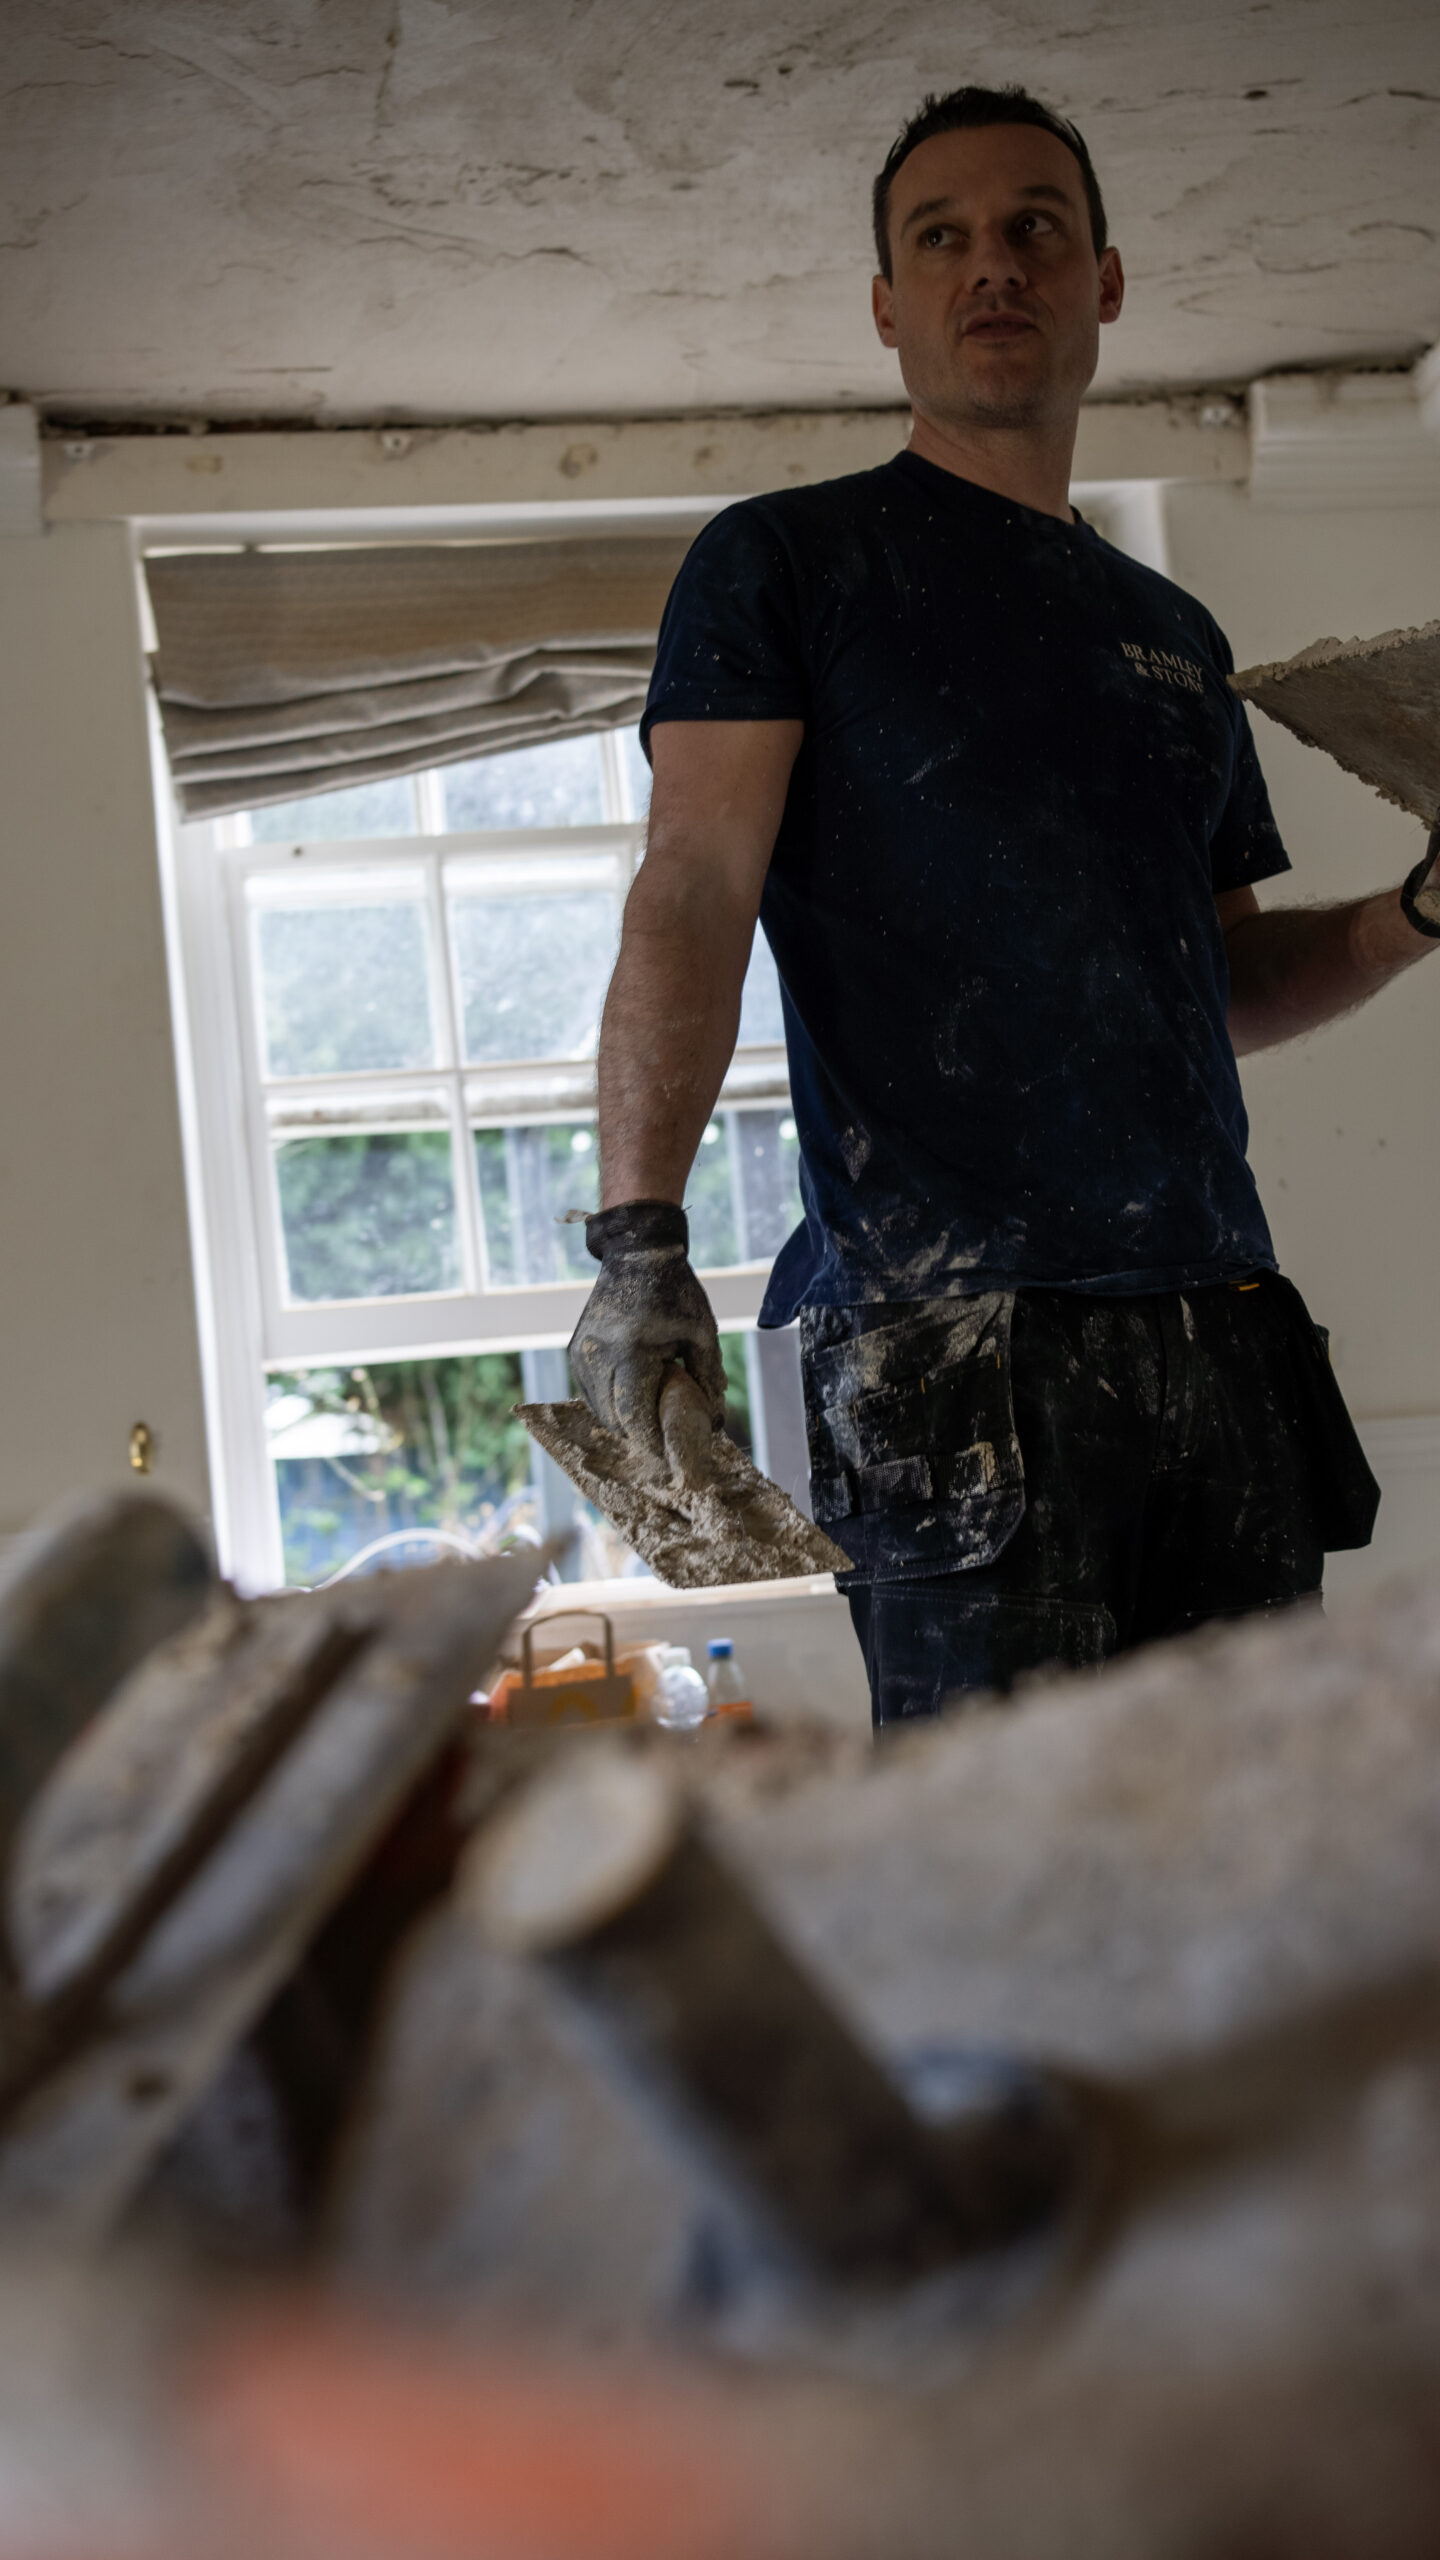
Lime Specialists for Period & Heritage Buildings
If your property was built before 1919, lime is almost certainly the material it needs. Lime mortar between the bricks. Lime plaster on the internal walls. Lime render on the elevations. Lime pointing in the joints. Limewash on the finished surfaces.
Bramley & Stone are heritage lime specialists. We carry out lime work across Dorset, Hampshire, Somerset and Surrey – matched, specified and applied the way old buildings actually need it. We’re not a generalist contractor offering lime as a service line. Lime work is what we do.
1,500+ period properties restored · SPAB-aligned approach · 10-year workmanship promise on qualifying works
1,500+ period properties assessed and restored · SPAB-aligned approach · 10-year workmanship promise on qualifying works
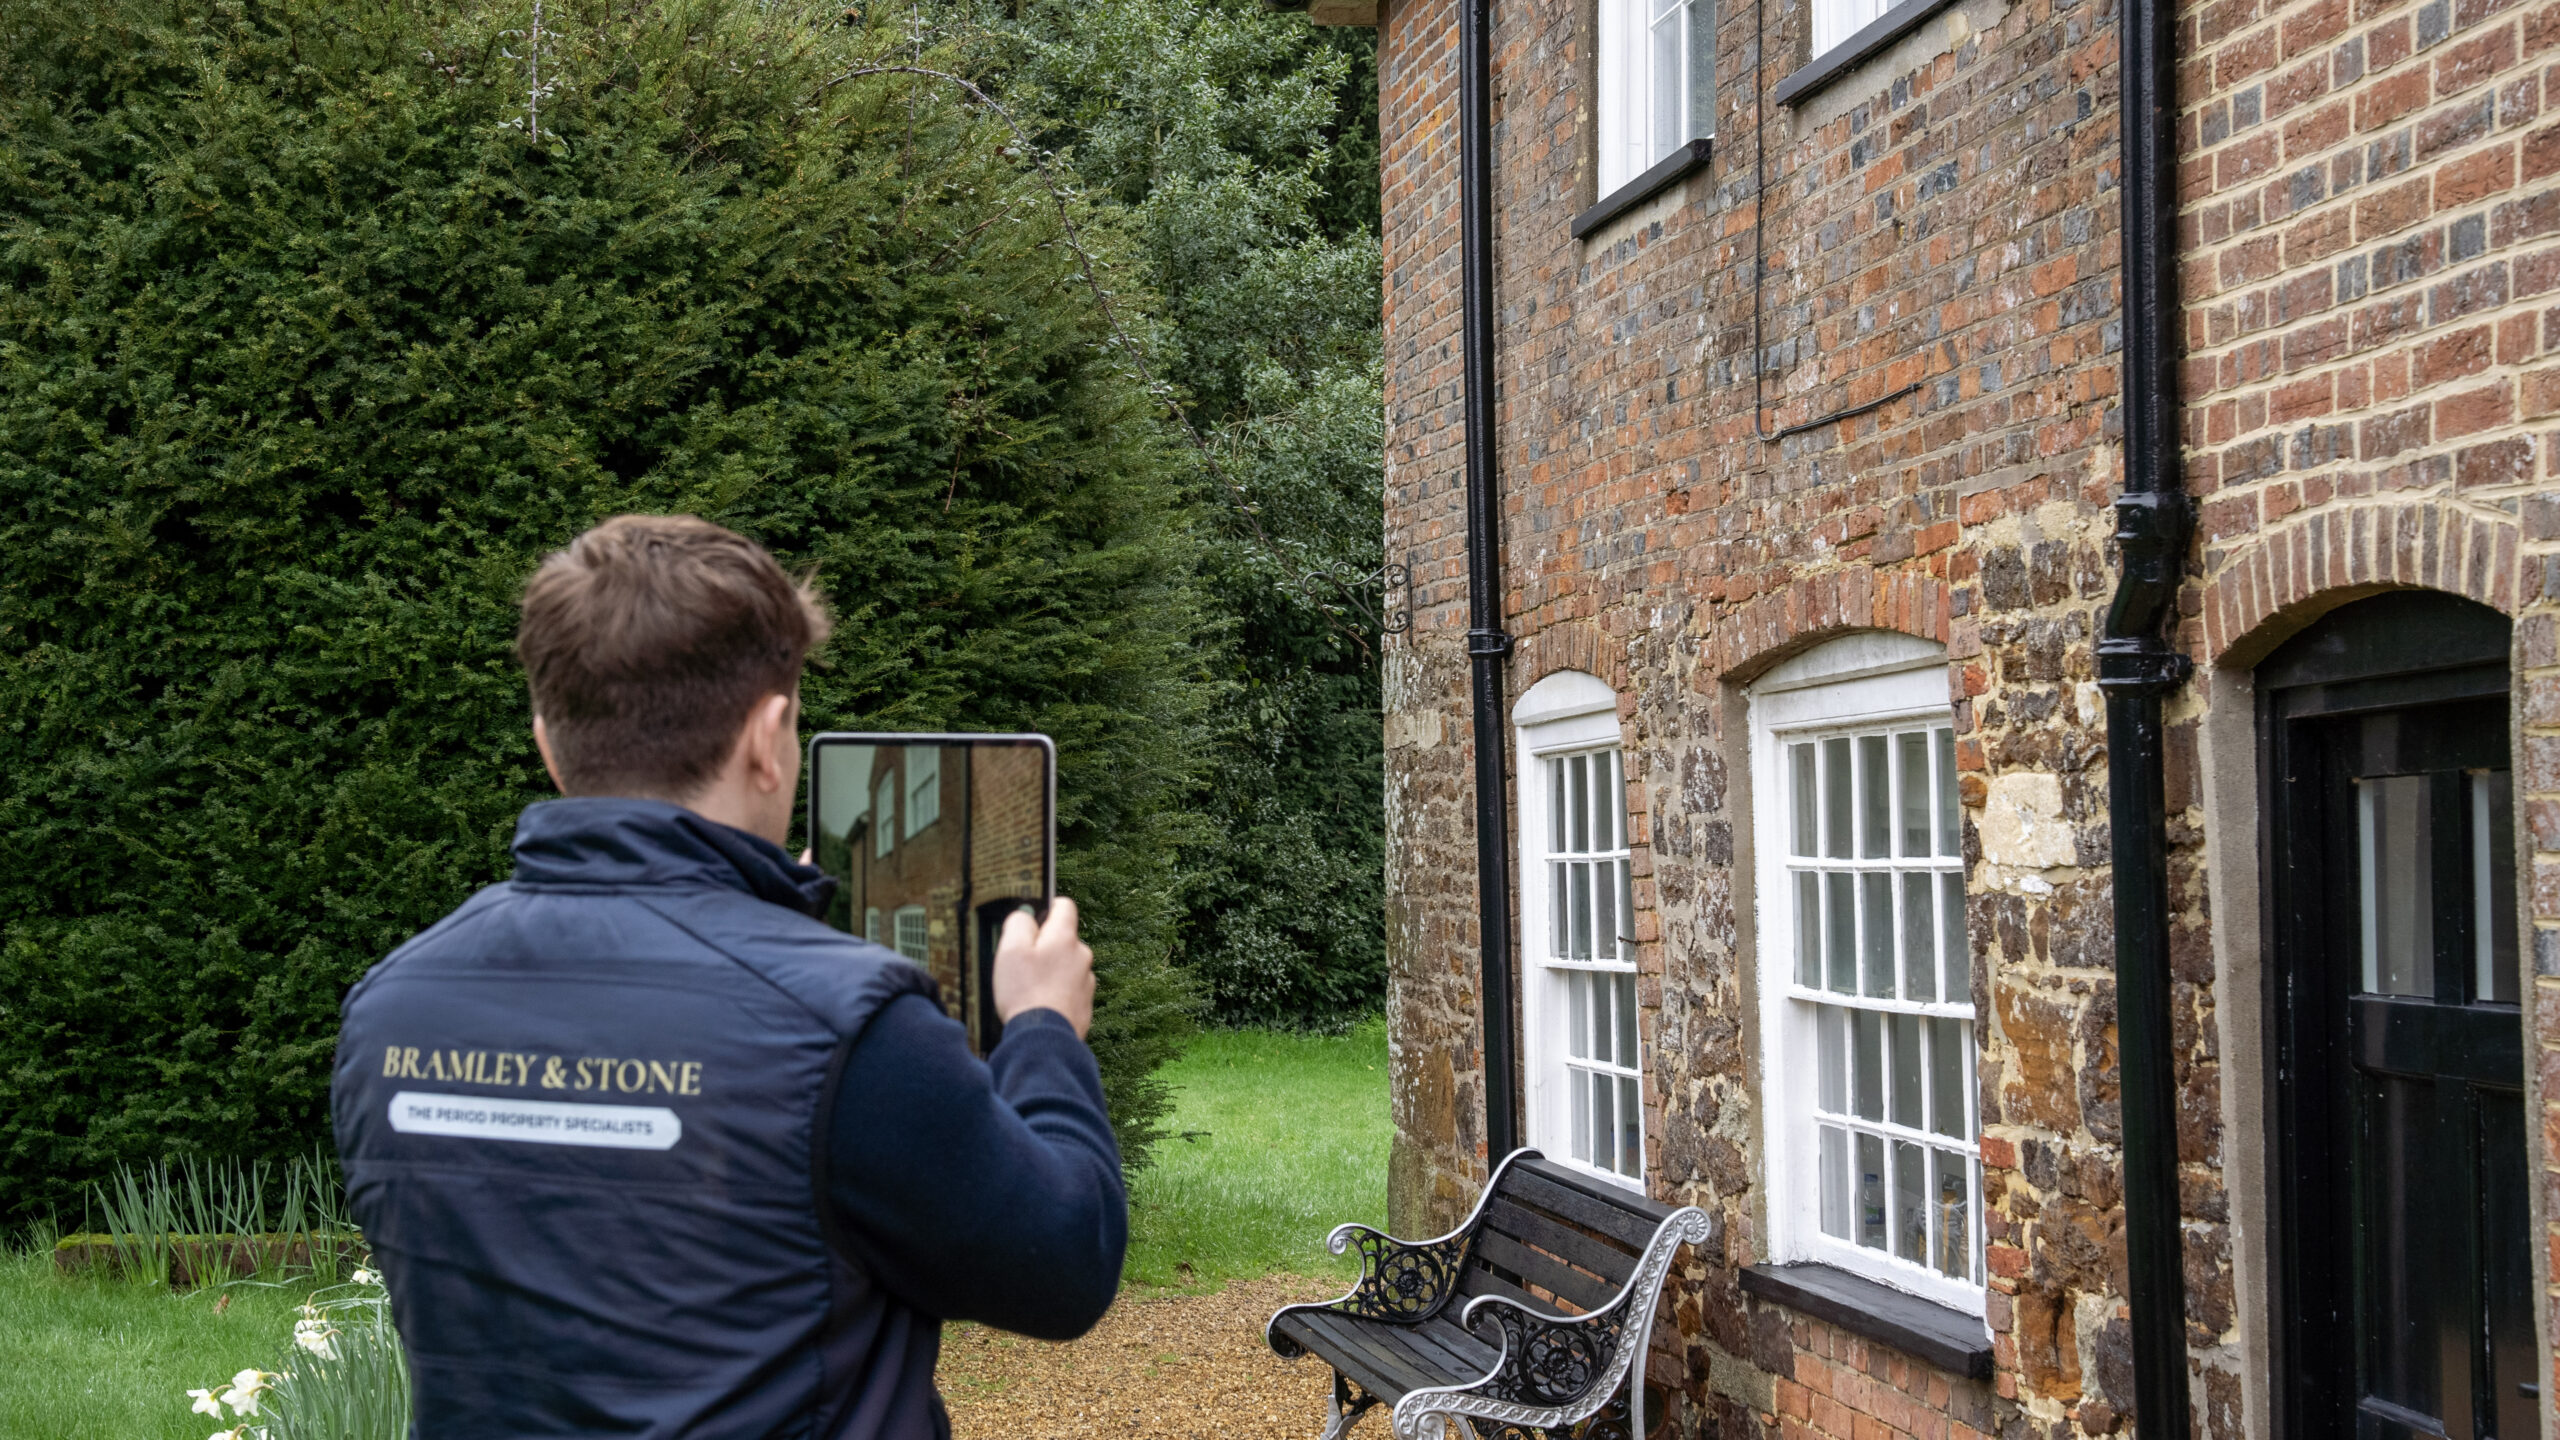
Why Lime is the Right Material for Your Building
Lime is the material your building was constructed with. It’s also the material your building needs in order to last.
The reason is simple, but the implications are significant. Lime is soft, flexible and breathable. Cement is hard, rigid and impermeable. On a modern cavity-walled house with a continuous damp proof course and a sealed building envelope, cement is the right answer – it’s strong, it’s quick, it sets reliably and the surrounding construction is designed to keep moisture away from it.
On a pre-1919 building, cement is the wrong answer. Old buildings were built to manage moisture through movement and evaporation, not by sealing it out. Solid stone or brick walls absorb a small amount of water from rain and ground contact, and release it back into the air through breathable joints, plaster and render. That movement of moisture is constant, and it’s what keeps the building dry over time.
Lime allows that movement. Cement stops it. When cement mortar is used to repoint a heritage wall, when cement render is applied over historic masonry, when gypsum plaster replaces lime plaster on internal surfaces – the building’s moisture management system is broken. Moisture has nowhere to go. It collects, it forces its way back through the surface, it crystallises as salts that destroy the finish, and over time it accelerates decay of the stone or brick itself.
There’s a second reason lime matters. Old buildings move. They settle, they expand and contract with temperature, they flex with seasonal moisture changes. Lime mortar is flexible enough to accommodate that movement without cracking. Cement isn’t – it’s harder than the masonry around it, so when the wall moves, the cement doesn’t, and either the joint cracks or the softer brick or stone fractures instead. Cement repointing is one of the most common causes of accelerated weathering on heritage masonry, and the damage it does is often irreversible.
Using lime on a heritage building isn’t a stylistic preference or a heritage purist’s affectation. It’s the material the building was designed for, and it’s the material that allows the building to continue working as it was intended to.
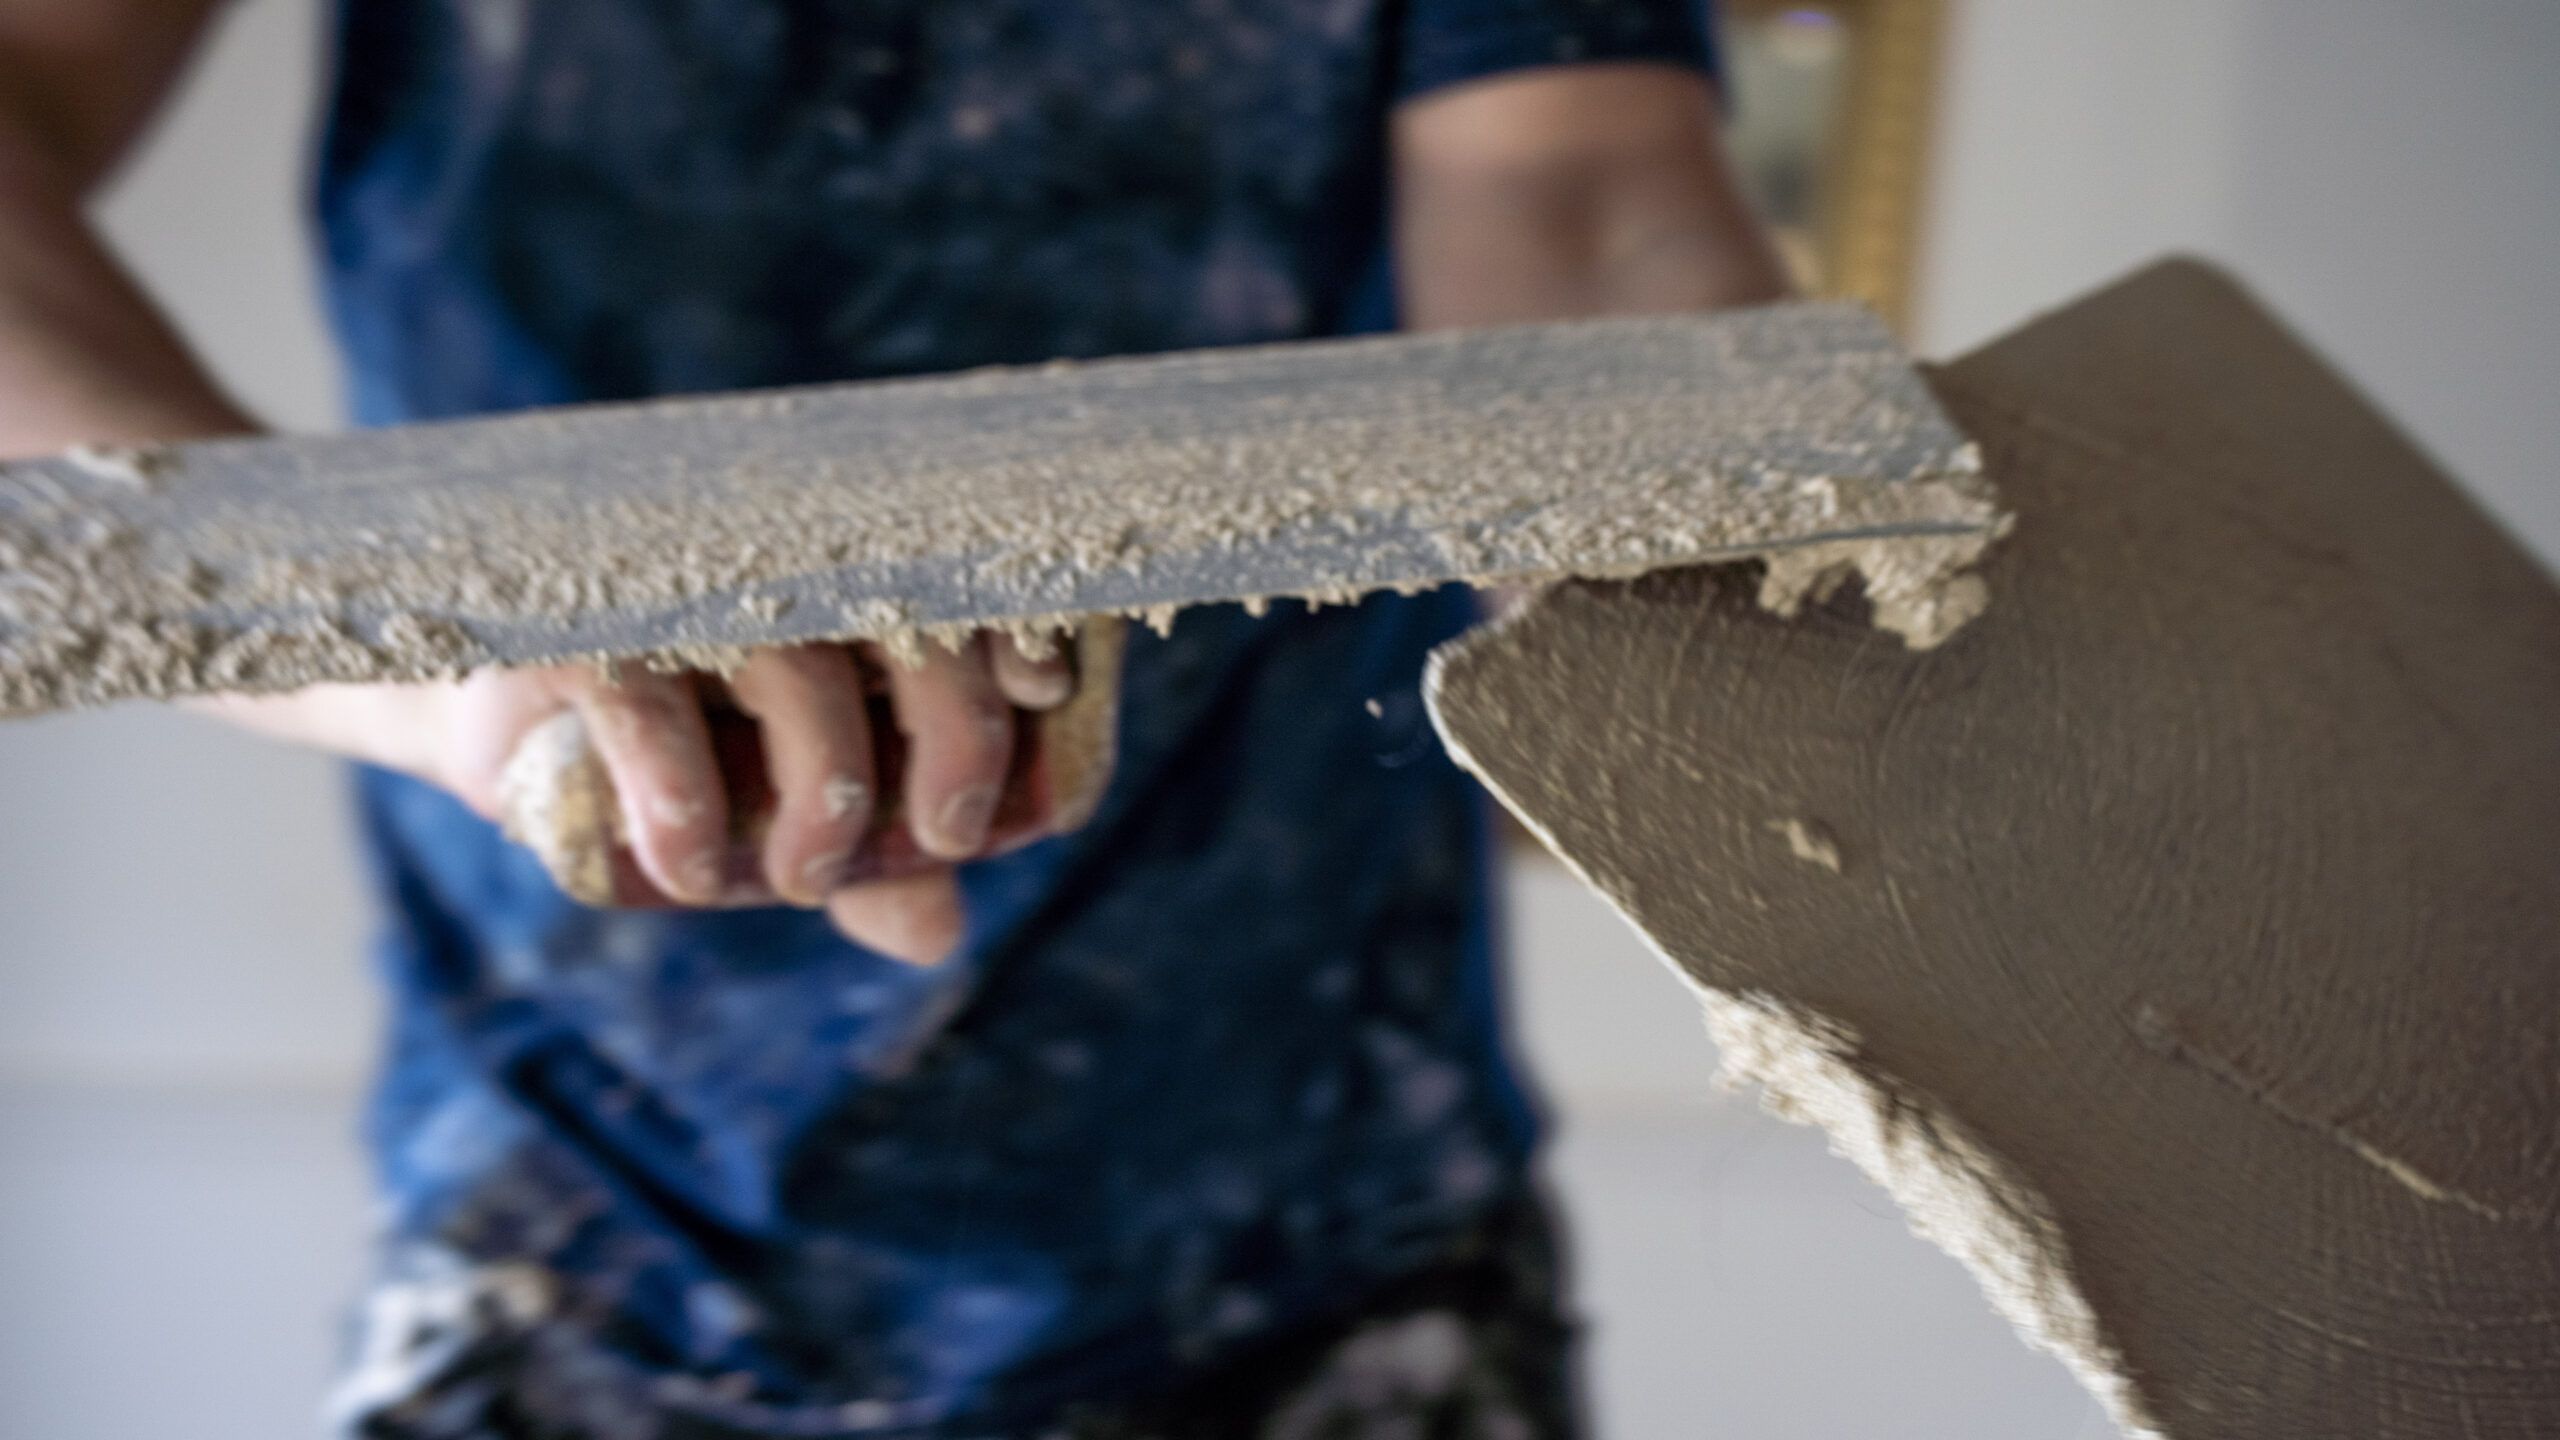
The Four Lime Work Services We Specialise in
Lime work covers a range of applications, each with its own technical requirements. We specialise in four:
Lime Plastering
Internal lime plaster is what most heritage properties have on their solid walls – typically a three-coat system on masonry, or a lath-and-plaster system for partitions and ceilings in older buildings. Lime plaster allows the wall to breathe, gives a beautifully soft, mineral finish, and is fully compatible with limewash and breathable paint systems. We strip failed gypsum, restore lime plaster correctly, and finish with materials that won’t undo the work.
Lime Rendering
External lime render protects the wall from weather while allowing it to release the moisture it absorbs. We apply traditional three-coat lime renders, with float, harl or trowelled finishes depending on the property. Lime render takes longer to apply and to cure than cement render, and it requires the right weather window and proper protection during the cure – but it lasts decades, looks correct on a heritage property, and works with the building rather than against it.
Lime Mortar Pointing
The mortar joints between bricks or stones are the building’s primary route for releasing moisture. When those joints have been repointed in cement – as they have on a vast number of older buildings since the 1950s – that route is blocked, and the masonry begins to suffer. We carefully rake out failed cement pointing, assess the joint and the masonry, and repoint with a lime mortar matched in strength, composition and finish to the original.
Limewash and Breathable Finishes
The finish on a lime-plastered or lime-rendered surface matters as much as the lime beneath it. Modern emulsion paints are vapour-resistant – applied over lime, they prevent the wall from breathing and trap moisture behind the paint film. We use limewash, silicate mineral paints and other breathable finishes that work with the lime system rather than sealing it.
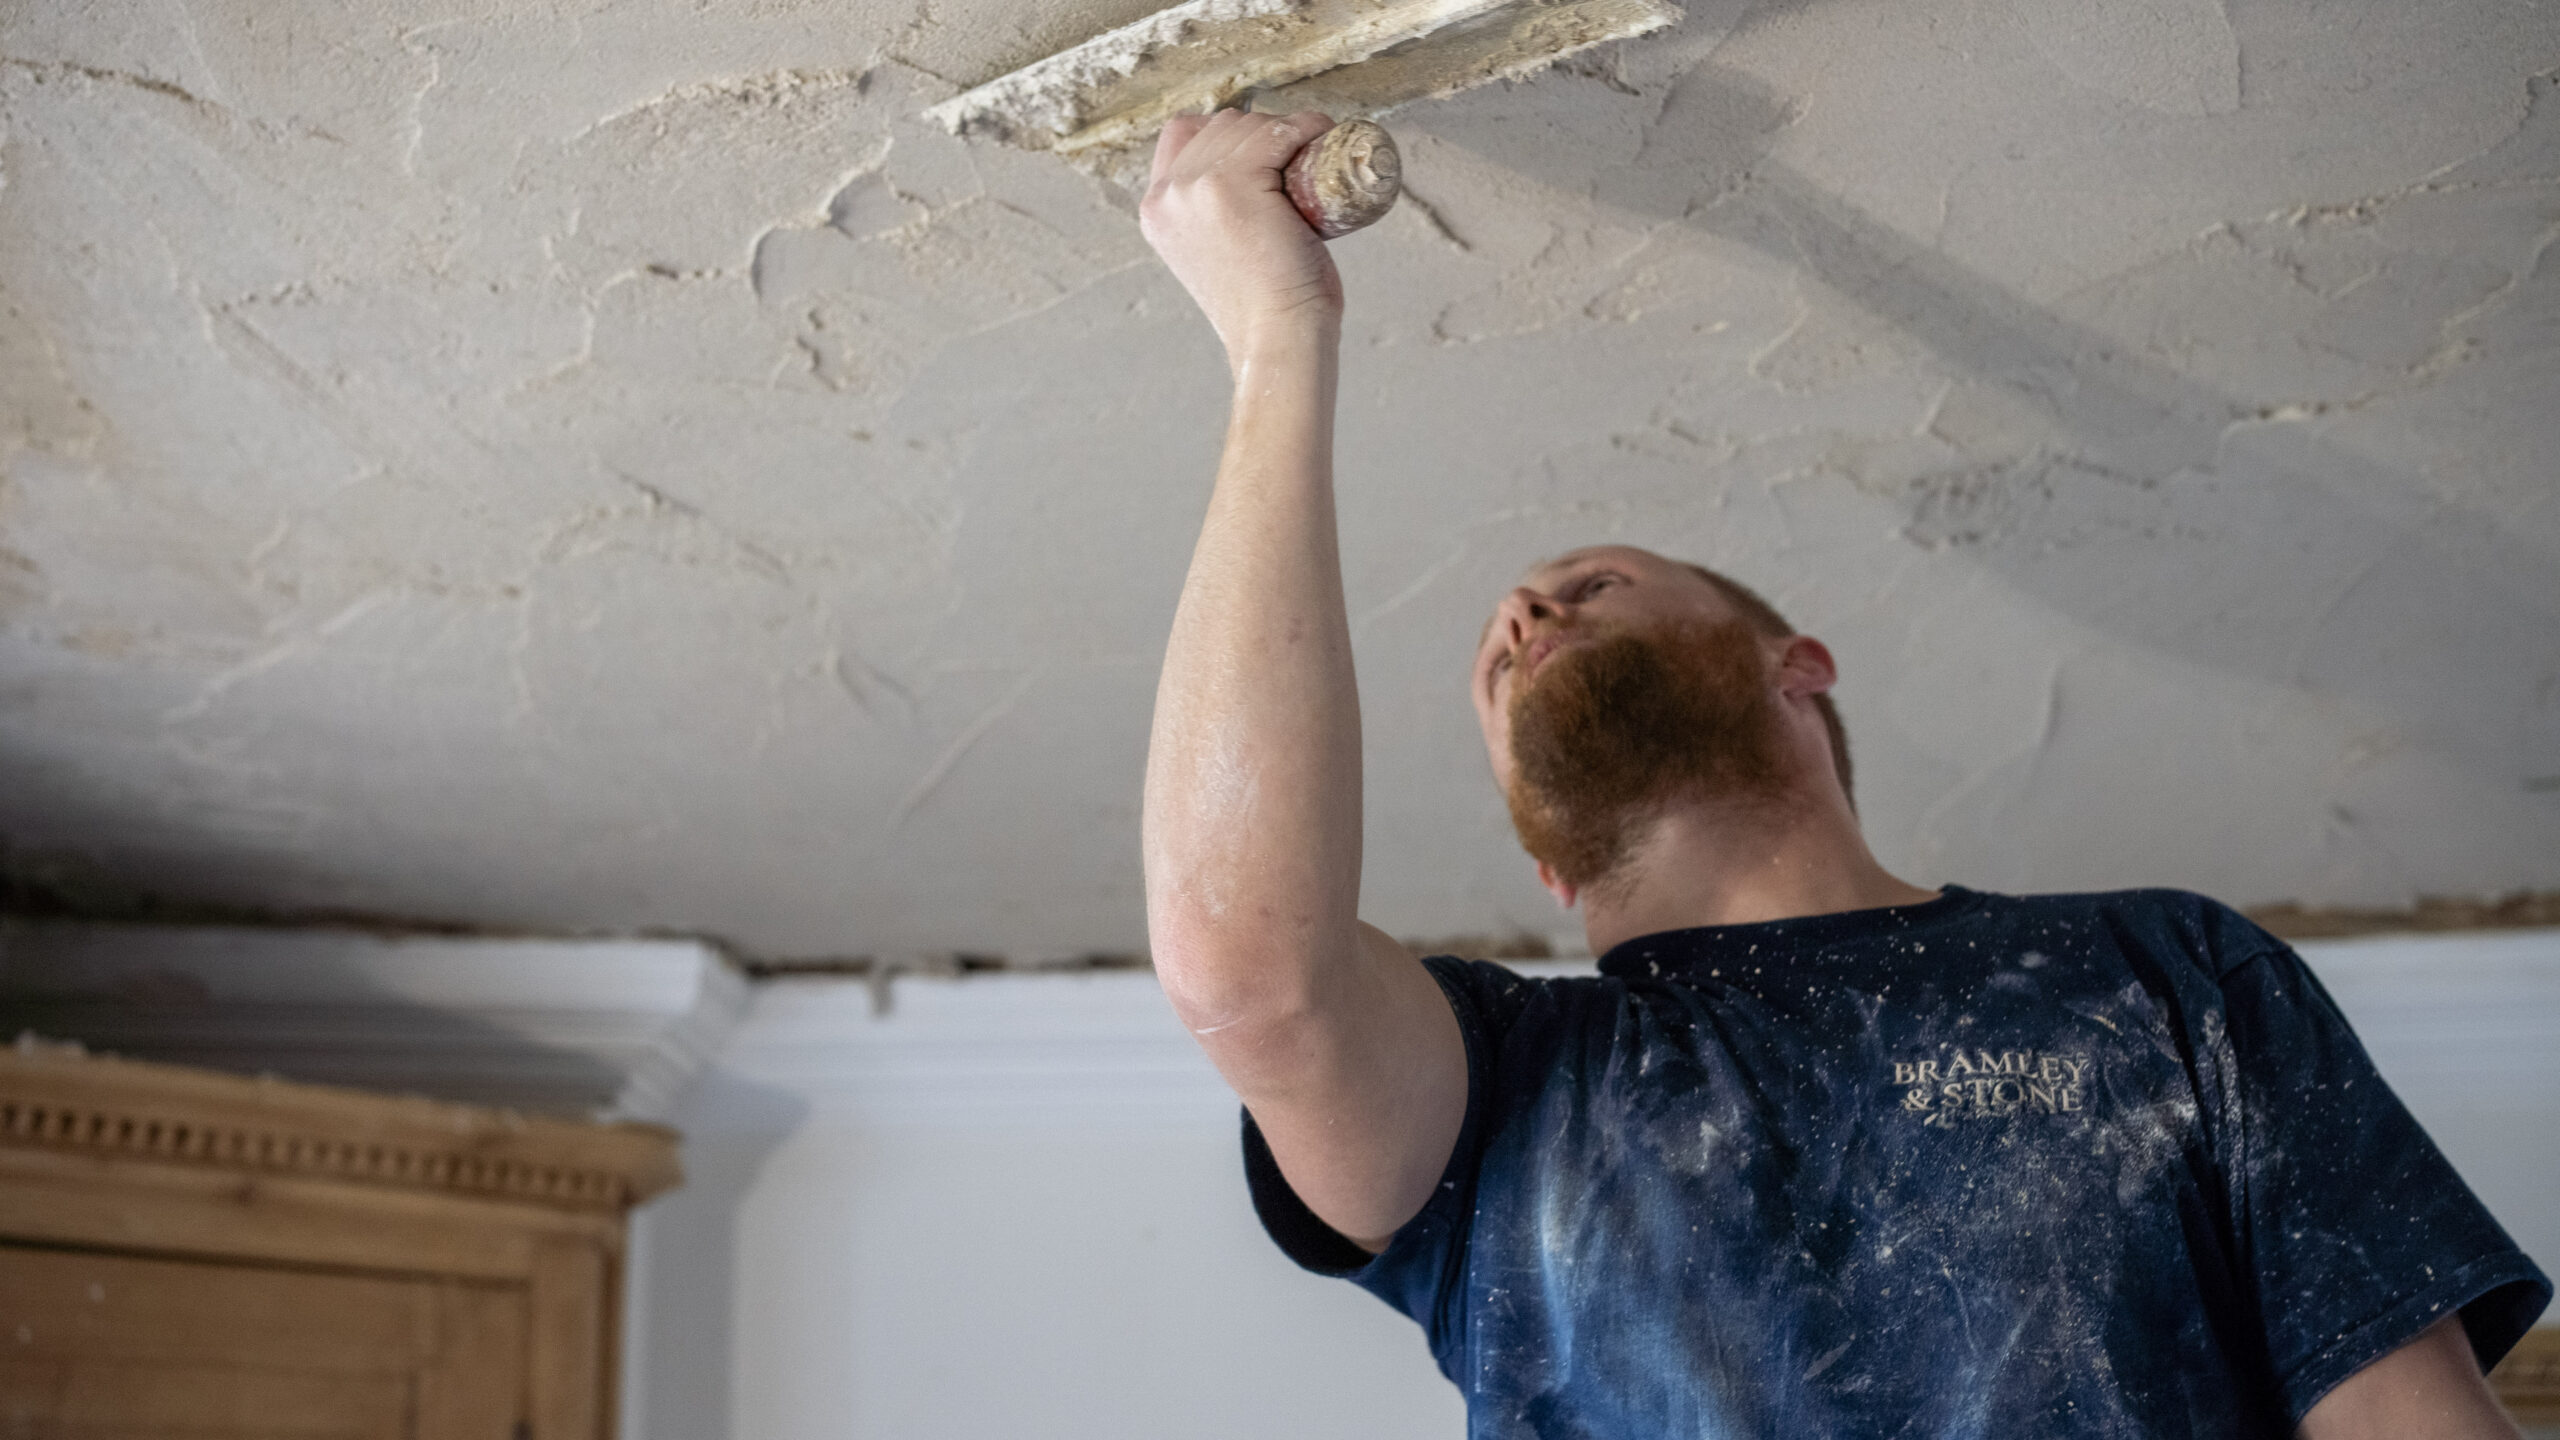
Matching Historic Lime: the Specialism Most Contractors Skip
Specifying “lime” is not enough. Lime is a family of materials, and using the wrong one on a heritage building is almost as damaging as using cement.
The composition, strength, aggregate and finish of a lime mortar or plaster all need to match what the building was originally built with. Get any of those wrong and you have a material that’s either too hard, too soft, too coarse or visually out of place. Too hard, and it behaves like cement – rigid where the wall is flexible, sealed where the wall needs to breathe. Too soft, and it weathers prematurely. Too coarse, and it looks wrong against the surrounding fabric. The wrong colour, and the repair stands out for the next century.
This is the work most contractors skip. Generic “lime mortar” mixed off a builder’s merchant’s pallet rarely matches the original. Even within the lime family, a mix that’s correct for a Cotswold limestone cottage will be wrong for a Dorset brick farmhouse will be wrong again for a flint-and-chalk Hampshire wall. The aggregate sand is sometimes more important than the lime itself – its colour, particle size and shape determine how the finished mortar looks, and getting it right means knowing the area, the era and often the specific type of building.
When we specify lime for a project, we look at the existing mortar, plaster or render to assess what was originally there. Where the original is intact, we sample and analyse it. Where it isn’t, we use the regional and period evidence to specify a mix that will be correct for the building’s age and location. We source aggregates from the right suppliers, mix to the right proportions, and apply with the consistency and protection the system requires. None of that is glamorous work. All of it is the difference between a repair that disappears into the building and one that announces itself for fifty years.
Hydraulic Lime, Lime Putty, Hot Lime – What We Use and When
The lime you’d buy off the shelf at a builder’s merchant is one of several types, each with different properties and different uses. The shorthand version:
Hydraulic lime (NHL)
Sold as natural hydraulic lime in three main grades – NHL 2 (feebly hydraulic), NHL 3.5 (moderately hydraulic) and NHL 5 (eminently hydraulic). The grade refers to how strong the lime is once cured. NHL 2 is soft and breathable, suitable for internal plastering, sheltered pointing and softer masonry. NHL 3.5 is the most commonly specified for general external pointing and rendering on heritage buildings. NHL 5 is harder, suitable for very exposed locations, plinths, chimneys and harder stone. Using NHL 5 where NHL 2 is appropriate is a common mistake – the resulting mortar is too hard for the masonry around it and causes the same problems as cement.
Lime putty (non-hydraulic lime)
A pure calcium hydroxide lime that sets by carbonation , slowly, over months, by absorbing carbon dioxide from the air. Used for the softest applications, lath-and-plaster ceilings, fine plasterwork, and restoration of buildings where the original lime was non-hydraulic. It produces beautiful work but requires patience and the right conditions.
Hot-mixed lime
Lime mixed hot, with quicklime added directly to wet aggregate, which produces an exothermic reaction. Hot lime mixes have been used for centuries and are increasingly being specified again for conservation work. They produce a workable, robust mortar that often performs well in challenging conditions. We use hot lime where the project warrants it – typically for exposed external work on certain types of historic masonry where it’s the most authentic match.
Limewash
A breathable paint made from lime putty and water, sometimes with natural pigments. Limewash is the traditional finish for lime-plastered and lime-rendered surfaces. It penetrates the surface rather than forming a film over it, which is why it’s compatible with the breathing system beneath. It needs to be reapplied every few years, but the maintenance is light, the finish is beautiful, and the building stays healthy.
The decision about which lime to use is made job by job, based on the building, the location, the application and the conditions. We specify after assessing the property. We don’t apply a one-size-fits-all mix.
Where Lime Goes Wrong
Lime done badly is sometimes worse than no lime at all. The common failures we encounter on properties where other contractors have used lime:
The wrong NHL grade. A merchant-bag NHL 5 mortar applied across the board on a soft brick or sandstone building. The mortar is too hard for the masonry, the joints stop being the sacrificial layer they’re meant to be, and the brick face begins to spall as the wall flexes. The fix is removal and re-pointing in an appropriate grade – but the damage to the masonry can’t always be undone.
The wrong aggregate. A coarse, sharp builder’s sand used instead of a sourced aggregate that matches the original. The mortar is gritty, sits oddly against the surrounding fabric, and weathers visibly within a few years. Lime mortar inherits its character from its sand as much as from its lime.
Applied in the wrong weather. Lime needs the right conditions to cure properly – not too hot, not too cold, not in driving rain, not in direct sun. Lime work applied in unsuitable conditions either dries too fast (and cracks) or doesn’t carbonate properly (and stays soft). Skilled lime contractors plan around the weather. Unskilled ones don’t, and the work suffers.
No protection during cure. Lime mortar, render and plaster all need to be protected after application – typically with damp hessian, sheeting and shade – to prevent rapid drying or rain damage during the early days of curing. Skipping that protection is the most common single cause of lime work failing prematurely.
Finished with modern paint. Lime plaster covered in vinyl emulsion. Lime render covered in masonry paint. The coating prevents the lime from breathing, traps moisture behind the film and undoes the entire purpose of the lime substrate. The lime work itself may be perfect, but the finish destroys it.
Cement in the mix. “Lime mortar” with cement added to make it set faster or harder. This isn’t lime mortar – it’s a cement-modified mix that behaves like cement and damages the building accordingly. We see this surprisingly often, sometimes specified by builders who don’t realise the implications.
We mention these failures not to be critical of others, but because if you’ve had lime work done before and you’re not satisfied with the result, the cause is almost always one of the above. We can usually identify which on a survey, and we can usually put it right.
What Correct Lime Work Looks Like on a Heritage Property
The process from assessment to completed lime work is the same regardless of which lime application we’re carrying out:
Assessment of the existing fabric. We look at the original lime – its composition, condition, strength and finish – to understand what was there and what the replacement needs to match. Where the original isn’t accessible or has been entirely lost, we use the period and region of the property to specify a correct mix.
Specification of the appropriate lime system. Type of lime (NHL grade, lime putty or hot lime), aggregate (sourced and graded to match), proportions, application method, finish, protection and cure period. Written into the specification so there’s no ambiguity on site.
Sourcing of the right materials. We source aggregates from suppliers who can provide consistency in colour and grade. We use limes from established manufacturers with proper data behind them. Where the project warrants it, we mix on site from quicklime rather than buying pre-mixed.
Preparation of the substrate. Failed cement removed without damaging the masonry. Old paint or unsuitable coatings stripped. Loose material brushed back. Joints raked to the correct depth. Backgrounds dampened where the application requires it.
Application under the right conditions. Lime work is weather-dependent. We schedule around it, and we don’t apply lime in conditions that will compromise the cure. If the weather turns, we stop and protect what we’ve done.
Protection during cure. Damp hessian, sheeting, shade – whatever the application requires. Lime is left to carbonate properly, which takes weeks rather than hours.
Appropriate finish. Limewash, silicate paint or another breathable system that allows the lime to continue performing as intended. We don’t undo our own work with a vapour-resistant topcoat.
Workmanship promise. Qualifying lime works are backed by our 10-year workmanship promise.
Real Dorset damp projects
A Grade II farmhouse, Dorset – repointing in matched lime mortar. A Grade II listed Dorset farmhouse with mixed brick and flint elevations had been partially repointed in cement during the 1980s. The brick faces were beginning to spall at the joints, and the flint was loose where the cement had failed. We surveyed the property, sampled the surviving original lime mortar, and specified an NHL 3.5 mortar with a sourced local sand to match. The cement was removed by hand to avoid damage to the soft brick, and the wall was repointed across two elevations. The match against the surviving original mortar is close enough that the joint between old and new is barely visible. Listed building consent was straightforward.
A Georgian townhouse, Hampshire – full lime re-render. A Georgian townhouse in Hampshire had been rendered in cement at some point in the post-war period. The render was cracked, the wall behind it was holding moisture, and internal damp had been a recurring problem despite multiple chemical injections. We removed the cement render carefully, allowed the wall to dry, repointed where required, and applied a three-coat lime render finished with limewash in a tinted off-white that matched what the building originally would have looked like. The internal damp resolved, the elevation now reads correctly for its period, and the lime render is expected to perform for fifty years or more.
An Edwardian villa, Surrey – internal lime plaster restoration. An Edwardian villa in Surrey had been “modernised” in the 1990s with gypsum plasterboard skim throughout the ground floor. The walls were holding moisture behind the gypsum, the room finishes were failing, and the previous owner had been advised that the property had rising damp. The actual cause was a combination of cement render externally and gypsum internally, neither of which the solid walls could breathe through. We removed the gypsum, allowed the masonry to dry, applied a three-coat lime plaster, and finished with limewash. Cement render removal followed externally as a separate phase. The walls are now performing as they were designed to.
Listed Buildings and Conservation Areas
If your property is listed, the materials used in repair work matter legally as well as practically. Listed building consent typically requires that any work to the building’s fabric is carried out using historically appropriate materials and methods. Cement on a building that was originally built in lime is rarely consented, and where it has been used historically it’s often required to be removed. Modern paints, gypsum plaster and impermeable renders are similarly problematic on listed buildings.
We work routinely on Grade I and Grade II listed properties, and within conservation areas across our four counties. We’re familiar with the consent process, and where required we’ll prepare specifications and method statements that support a listed building consent application. We work alongside conservation officers, heritage consultants and architects where the project requires it.
The advantage of using a heritage specialist on a listed property is that the materials are correct from the outset. The work doesn’t need to be undone in a future cycle of repair, the consent is straightforward, and the building’s listed character is protected rather than compromised.
Areas We Cover
We carry out damp remediation across the whole of Dorset:
South Dorset and the coast — Poole, Bournemouth, Christchurch, Weymouth, Portland, Swanage, Wareham, Wool, Lulworth, Studland and the surrounding coastal villages.
East Dorset — Wimborne Minster, Ferndown, Verwood, Cranborne, Three Legged Cross and the villages of Cranborne Chase.
North and central Dorset — Blandford Forum, Sturminster Newton, Sherborne, Shaftesbury, Gillingham, Stalbridge and the villages across the Blackmore Vale.
West Dorset — Dorchester, Bridport, Lyme Regis, Beaminster, Cerne Abbas, Piddletrenthide and the wider rural west of the county.
The Isle of Purbeck — Swanage, Corfe Castle, Wareham, Studland and the Purbeck villages.
If you’re outside these counties but believe your property would benefit from our specialist approach, please get in touch.
What Happens Next
Our process is designed to protect your time and ours. We don’t carry out free surveys, because a proper heritage survey takes hours and requires a specialist surveyor. We don’t pressure you into booking one, either.
Step one – an initial conversation.
Call us or submit an enquiry. One of the team will come back to you to understand the property, what’s required, and whether a heritage survey is the right next step. If it isn’t, we’ll tell you.
Step two – a heritage survey.
A specialist surveyor visits the property and assesses the lime work required. There is a fee for the survey, which reflects the time and expertise involved.
Step three – written report and quotation
You receive a written report and a specific, itemised quotation that sets out exactly what we recommend, what materials we’ll use, and what the work involves. You’re under no obligation to proceed.
Step four – the work
If you choose to go ahead, we schedule the project, agree start dates around the right weather window where required, and our team carries out the lime work as specified. Qualifying works are backed by our 10-year workmanship promise.
Book a Heritage Damp Survey — Call 01202 144776
Frequently Asked Questions
What’s the difference between lime and cement, and why does it matter for old buildings?
Lime is soft, flexible and breathable. Cement is hard, rigid and impermeable. On a modern cavity-walled house, cement is appropriate. On a pre-1919 building with solid walls, cement traps moisture and damages the surrounding masonry by being harder than the brick or stone around it. Lime allows the wall to breathe and to flex, which is what the building was designed for. Using cement on a heritage building is one of the most common causes of long-term damp and accelerated weathering.
Which type of lime should be used on my property?
It depends on the building, the application and the location. NHL 2 is a softer hydraulic lime suitable for internal plastering and sheltered pointing on softer masonry. NHL 3.5 is the most commonly specified for general external pointing and rendering on heritage buildings. NHL 5 is harder, suitable for exposed plinths, chimneys and harder stone. Lime putty is used for the softest applications and traditional lath-and-plaster work. Hot-mixed lime is increasingly specified for conservation work where the most authentic match is required. The right specification comes from looking at the building.
How long does lime work take to cure?
Lime mortar and lime plaster cure by carbonation – absorbing carbon dioxide from the air over time. Initial set takes days, but full cure takes weeks to months depending on the application, the thickness and the conditions. During that time the work needs to be protected from rapid drying, rain and frost. We programme projects around the cure requirements, which is why lime work needs the right weather window.
Can I get lime work done in winter?
It depends on the application and the location. Lime cannot be applied in freezing conditions or where frost is forecast within several days of application. External lime work is typically programmed between spring and early autumn for that reason. Some internal work can continue through winter where the building is heated and conditions are stable. We’ll advise on timing during the survey.
Do I need listed building consent for lime work?
If your property is listed, any work that affects its character or fabric may require listed building consent. The good news is that using historically appropriate materials – lime mortar, lime plaster, lime render – is what consent typically requires. Where consent is needed, we can prepare specifications and method statements that support the application. We work with conservation officers regularly.
Can lime work be done on a non-listed period property too?
Absolutely. Most of our work is on non-listed period properties – anything from a Victorian terrace to a Georgian townhouse to an Edwardian villa. The principles are the same as for listed buildings: solid-walled, lime-built construction needs lime work to perform correctly. Listed status simply adds a legal dimension to what is already the right approach for the building.
Will lime work look right against the original building?
When it’s matched correctly, yes. The aggregate sand, the lime grade, the finish and the application method all need to be specified to match the surviving original. When that’s done well, new lime work is barely distinguishable from old. When it’s done badly – wrong sand, wrong grade, wrong finish – the repair stands out for decades. Matching historic materials is one of the most underrated parts of our work, and one of the parts we take most seriously.
Can lime work fail?
Yes – most often when it’s been applied incorrectly. The wrong NHL grade, the wrong aggregate, application in unsuitable weather, no protection during cure, or a vapour-resistant paint applied over the top. When lime work fails, the failure is almost always traceable to one of those causes rather than to the lime itself. Correctly specified, correctly applied and correctly finished, lime work performs for decades.
How do I know if my building needs lime?
If it was built before 1919, the answer is almost always yes. If it has solid walls (no cavity), if there’s any visible original lime mortar in the joints, if there’s lime plaster behind any modern surface – your building was built in lime and needs lime to continue performing properly. A heritage survey will confirm exactly what’s required.
Start with a heritage damp survey in Dorset
If your period property needs lime work – whether it’s pointing, plastering, rendering, or removal of unsuitable modern materials – the first step is a proper assessment. Tell us about your property and we’ll arrange the right type of survey.
Covering Dorset, Hampshire, Somerset and Surrey. 1,500+ period properties restored.